
1.声明
当前的内容用于本人分析和使用定时任务:Quartz和Scheduler
2.使用SpringBoot中的Scheduler方式执行任务
1.首先需要在当前的SpringBoot的入口中开启Scheduler
@SpringBootApplication(exclude = { DataSourceAutoConfiguration.class }) // 这里不需要使用数据源操作
@EnableScheduling // 这个是开启任务调度
public class QuartzApplication {public static void main(String[] args) {SpringApplication.run(QuartzApplication.class, args);}
}
2.创建一个基本的任务类,并添加@Compoment
@Component
public class SimpleJob2 {@Scheduled(cron = "0/2 * * * * *") // 这个是任务计划,就是每两秒执行一次public void process() {System.out.println("job run...");}
}
3.测试
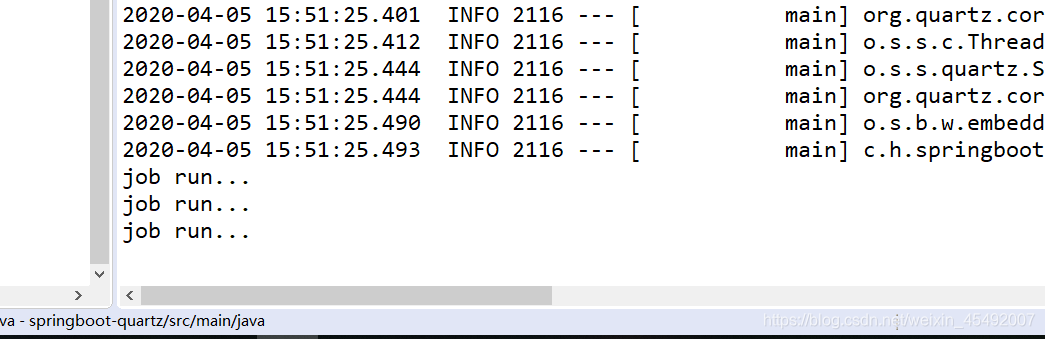
发现在springboot中使用非常简单
3.使用Quartz方式实现
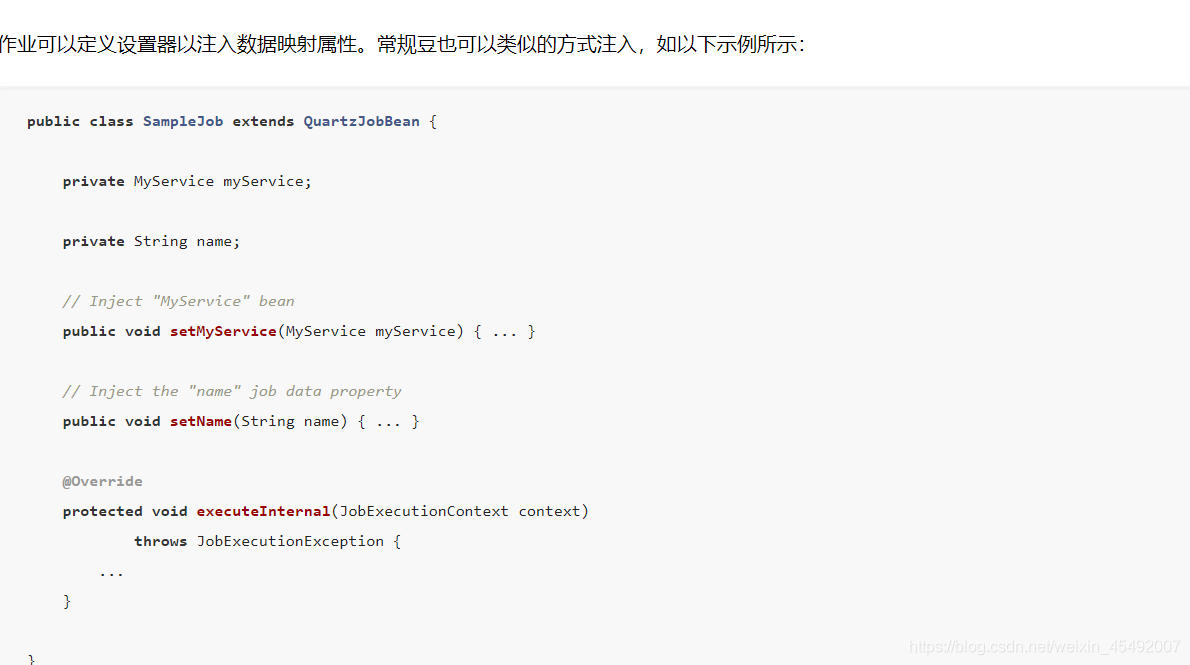
1.首先需要导入springboot对quartz的支持的pom依赖
<dependency><groupId>org.springframework.bootgroupId><artifactId>spring-boot-starter-quartzartifactId>
dependency>
2.创建对应的任务类,该类需要继承QuartzJobBean
public class SimpleJob extends QuartzJobBean {DateFormat dateFormat = new SimpleDateFormat("yyyy-MM-dd HH:mm:ss");@Overrideprotected void executeInternal(JobExecutionContext context) throws JobExecutionException {System.out.println("任务执行的时间:" + dateFormat.format(new Date()));}}
3.编写Quartz的配置类
@Configuration
public class QuartzConfig {private static final String DEFAULT_IDENTITY = "defaultIdentity";@BeanJobDetail teatQuartzDetail() {return JobBuilder.newJob(SimpleJob.class).withIdentity(DEFAULT_IDENTITY).storeDurably().build();}@Beanpublic Trigger testQuartzTrigger() { // 设置时间周期单位秒 每隔两秒实行一次SimpleScheduleBuilder scheduleBuilder = SimpleScheduleBuilder.simpleSchedule().withIntervalInSeconds(2).repeatForever();return TriggerBuilder.newTrigger().forJob(teatQuartzDetail()).withIdentity(DEFAULT_IDENTITY).withSchedule(scheduleBuilder).build();}}
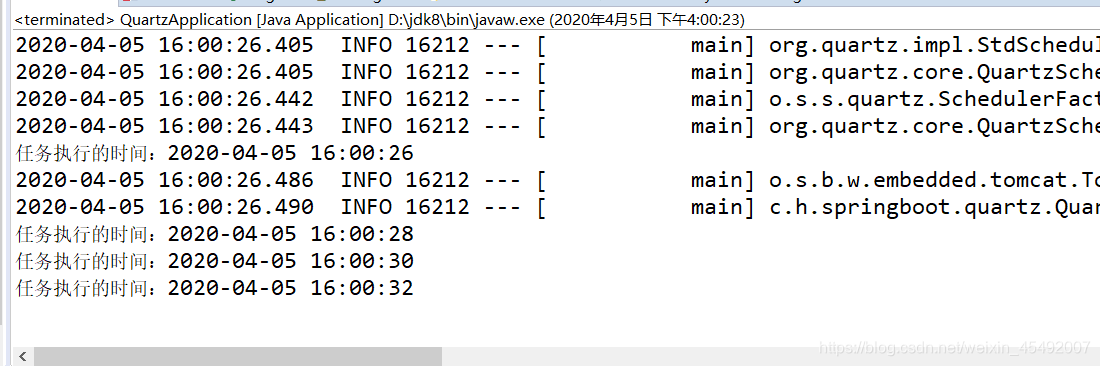
执行结果
4.总结
1.使用基于Quartz的方式创建粒度更加细一些,但是操作复杂
2.使用Spring中提供的Scheduler的方式更加方便,可以在一个类中使用多个任务,使用@Scheduled注解和@EnableScheduling注解就可以实现
以上纯属个人见解,如有问题请联系本人!